Step-by-Step Guide to Cleaning and Sealing Your Pavers
BY DUCON OUTDOOR LIVING | PUBLISHED : OCT 25 2023
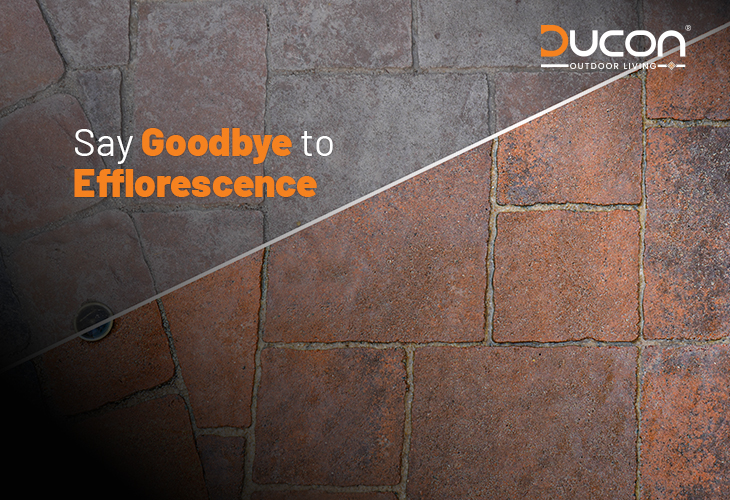
Have you ever think about the Paver Cleaning Solutions?. Your sealer will deteriorate and wear out over time. You should reseal them every two to three years as a result. This will offer the greatest defense against unsightly oil stains, mildew, and other things. However, what should you do in between sealing the pavers? How should sealed pavers be cleaned? After all, sealer will only shield your pavers from tough stains, not keep them from getting dirty.
Pavers are a lovely addition to any house, but they may be challenging to keep clean. It’s critical that you understand the paver sealing and cleaning procedure if you want your pavers to appear their best all year long. What is required for cleaning and sealing pavers will be covered in this post.
What is the Best Way to Clean and Seal Pavers?
Paver Cleaning Solutions
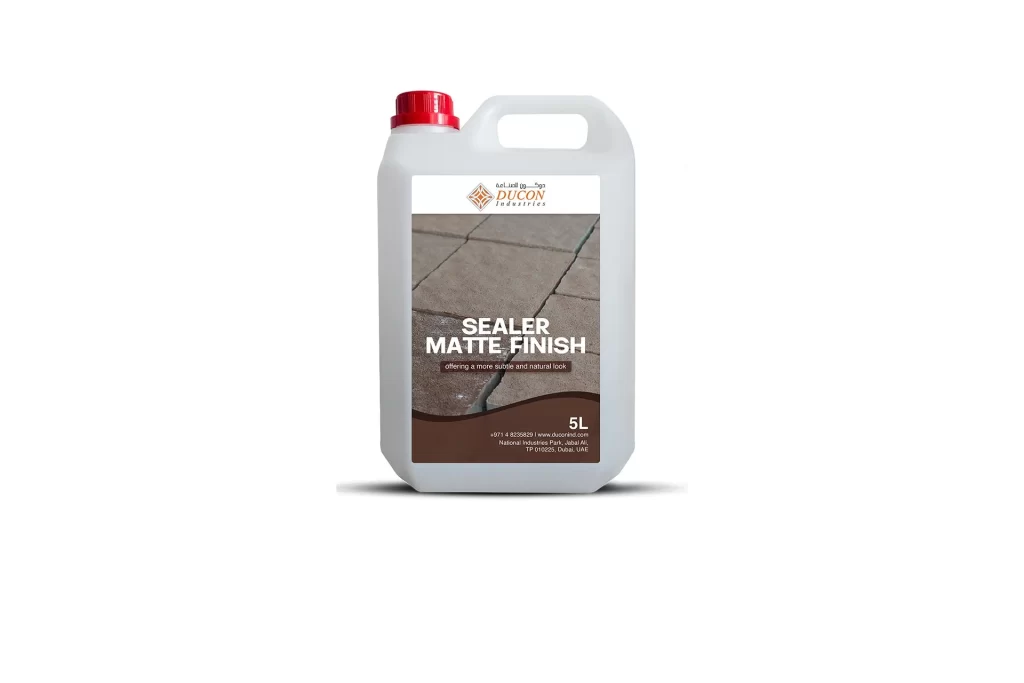
We at Ducon, have developed an extensive line of Hardscape Cleaners, Sealers and Stain removers where we offer specialized solutions to rejuvenate and maintain the beauty of your outdoor spaces. Our carefully crafted products are designed to tackle the toughest paver cleaning solution challenges, from routine maintenance to deep cleaning of your pavers and hardscape surfaces. Paver cleaning solutions and sealing are a process you’ll need to perform every few years because it’s crucial to maintain your pavers periodically by cleaning them and using paver cleaning solution like sealer as needed to keep their appearance looking excellent all year long.
How to Seal Pavers?
Pavers cleaning solutions are typically used to build walks, roads, or patios. They can be made of brick, naturally cut stone, or another type of rock product. It’s a good idea to seal them to extend their lifespan and improve their appearance. To seal the pavers and reach your goals, you must choose the best sealer for your stone. Always wash any paved surfaces thoroughly before levelling any uneven pavers. Typically, sealer is applied with a sprayer or roller, and it’s crucial to evenly cover all of the pavers.
Part1 – Picking Your Supplies
If your pavers are installed using joint sand, pick a water-based sealer
Spray-on water-based sealants provide a uniform layer of protection. The key advantage of a water-based sealer is that it penetrates pavers better and hardens the joint sand. As a result, the entire paved surface develops a strong seal.[1] Water-based sealers don’t discolor the stones or make the pavers very shiny. For porous bricks that won’t shine much anyway, choose this sealant. Consult a staff member at a home improvement store if you are unsure of the sort of pavers you have or which sealant is ideal. You frequently need to apply more than one coat of water-based sealer to the pavement area.

Purchase a solvent sealer to darken and polish stones
Compared to water-based sealers, solvent sealers can give the stones a sheen that is significantly greater. They do not efficiently harden sand, which is a drawback. For non-porous, smooth stones, this sealant works wonders. This is a wonderful alternative if your pavers are tightly put together without joint sand. You might need to use a roller rather than a sprayer because solvent sealers are frequently thicker than water-based sealers.
Read the directions for correct application
Sealants can be applied with a nap roller, a pump sprayer, or a mix of the two. Use the correct tools by adhering to the sealer’s directions. Often thin sealers can be applied by spraying, which is much quicker. It may be necessary to roll thicker sealers, which can take longer and not necessarily provide as level coverage. Some sealers are sprayed on, but to equal out the coating, you must back roll the pavers.
Use a sprayer with a nozzle head that can be adjusted
Be sure that the sprayer you select has either numerous head attachments or an adjustable spray pattern for the optimal application, which calls for a beautiful wide fan spray. Never use a sprayer that produces a small stream of water. For this, a bug sprayer is a good solution. They are frequently affordable and generally accessible at hardware stores.
Utilize a roller with the proper thickness
Many sealants must be applied with a roller rather than a sprayer, so it’s critical that the roller is thick enough in this situation. You’ll likely receive instructions on how to do this from the sealer. One sealer would advise using a roller with a 1″ thick nap, for instance. This is crucial because if the roller is not thick enough, the sealer won’t penetrate the gaps between the pavers and won’t work as effectively to cover the surface. You won’t obtain an even coat of sealer across the pavers if you use a roller that is too thick. This could also put the sealer on too thick.
Part2 – Applying the Sealer
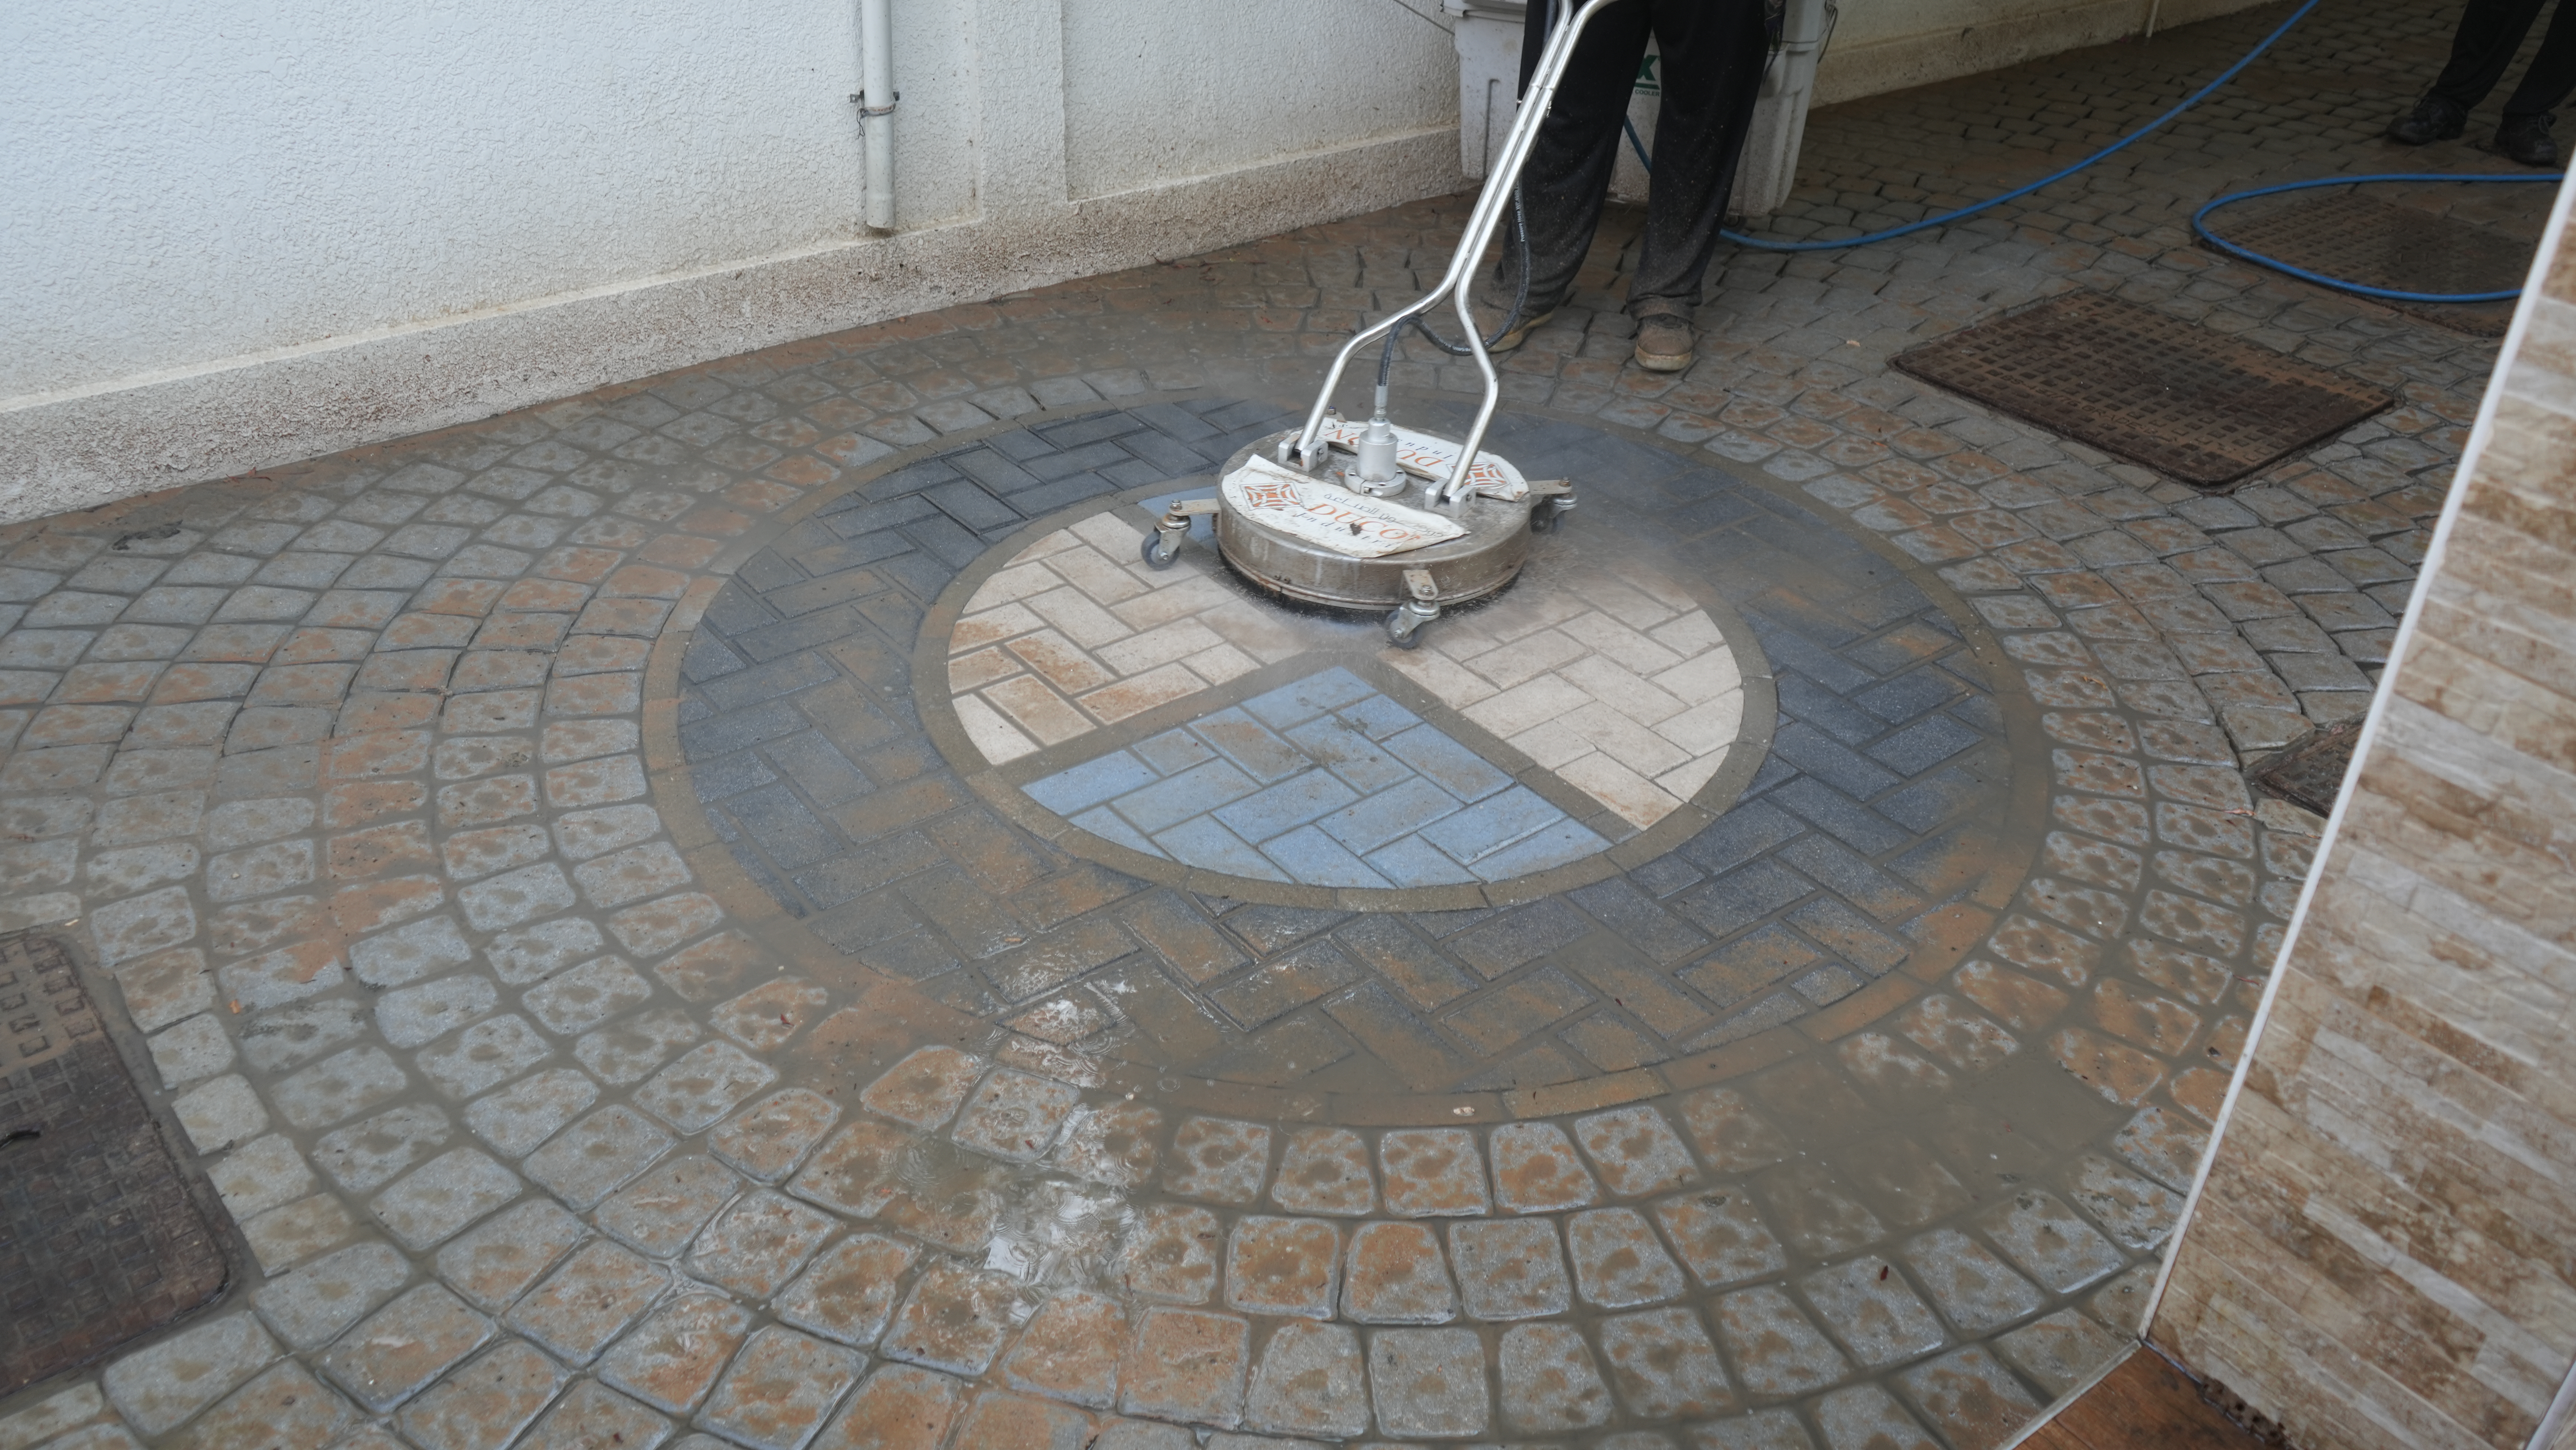
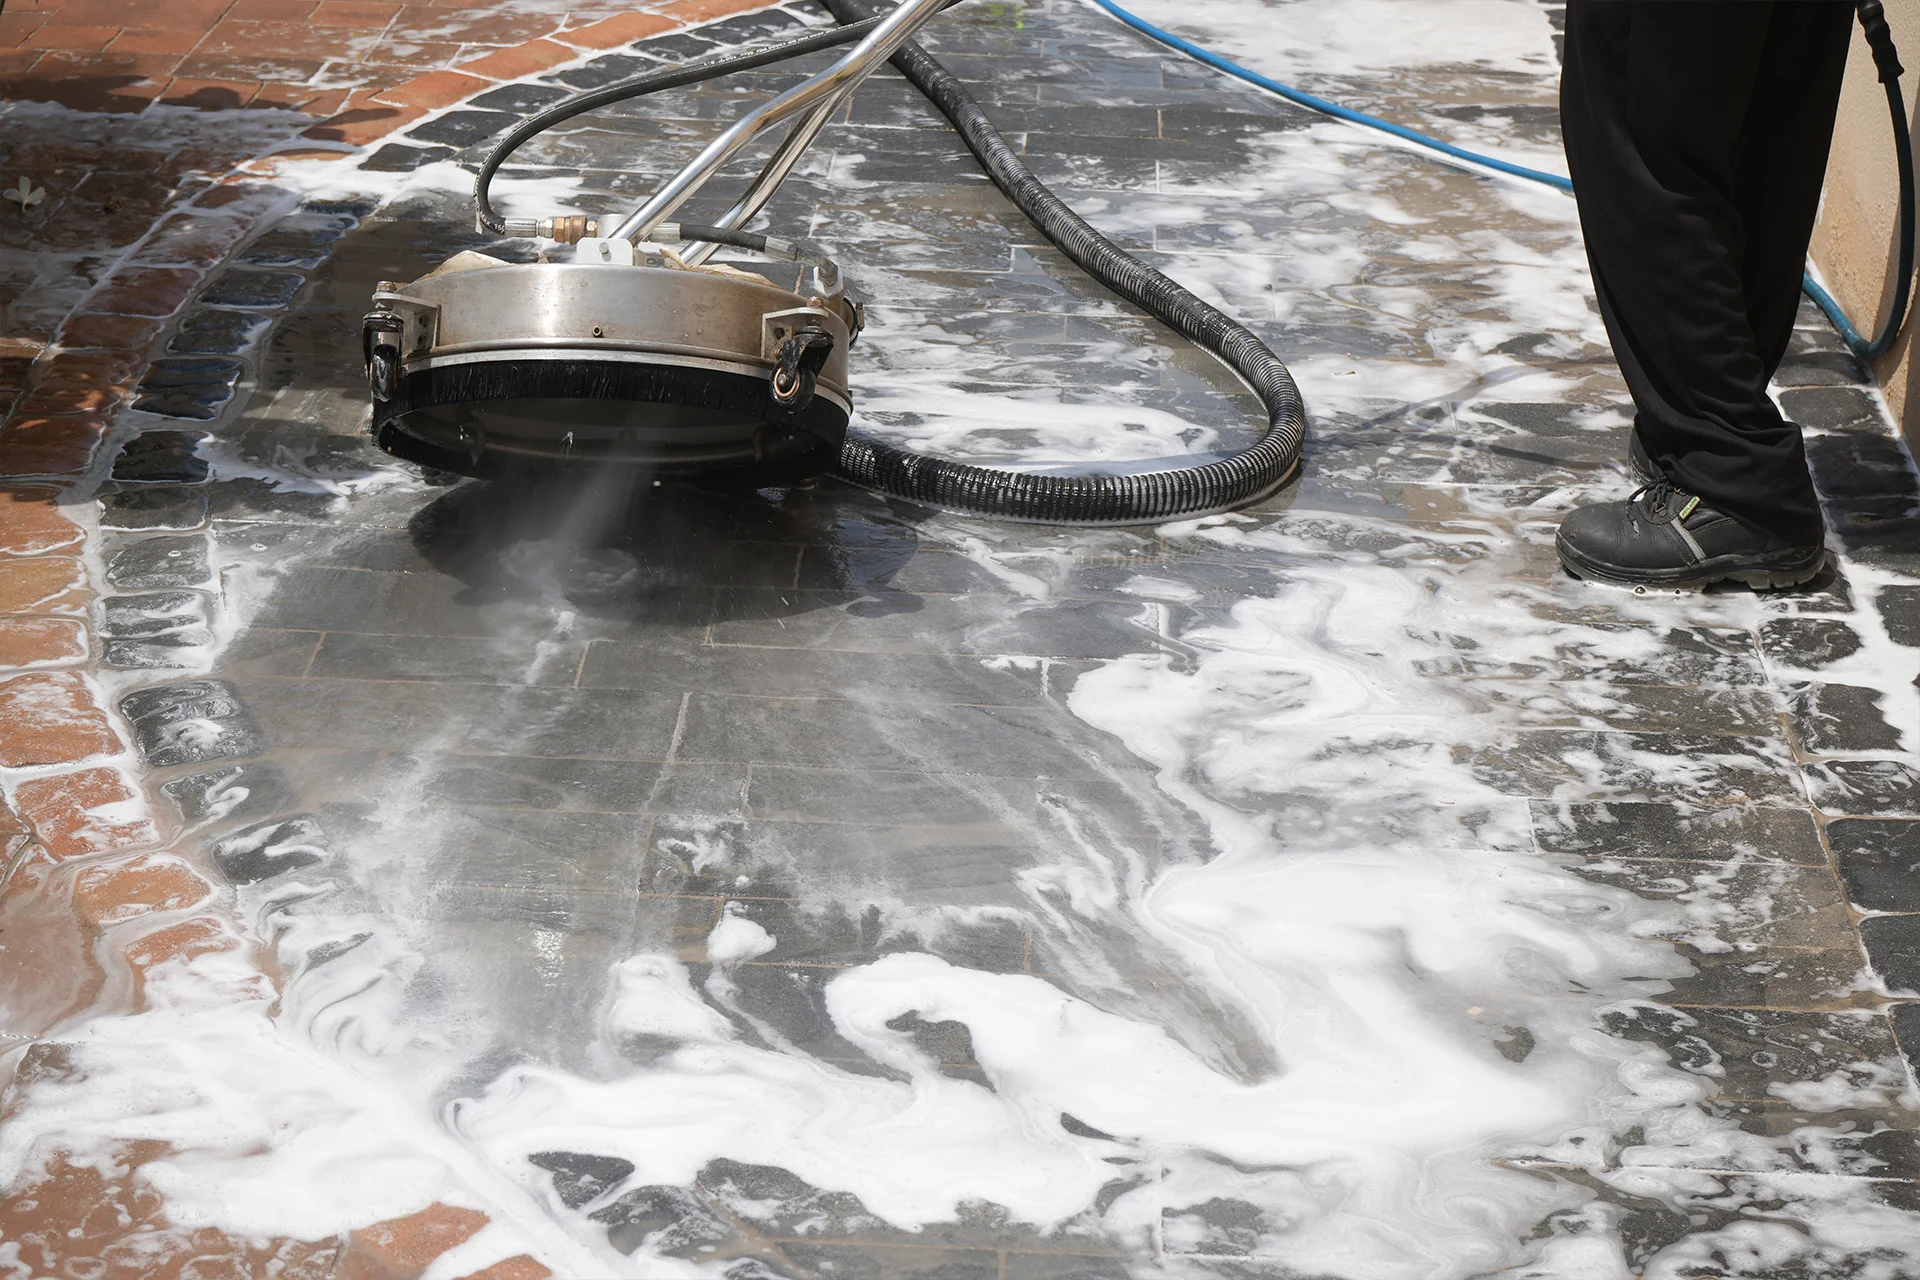
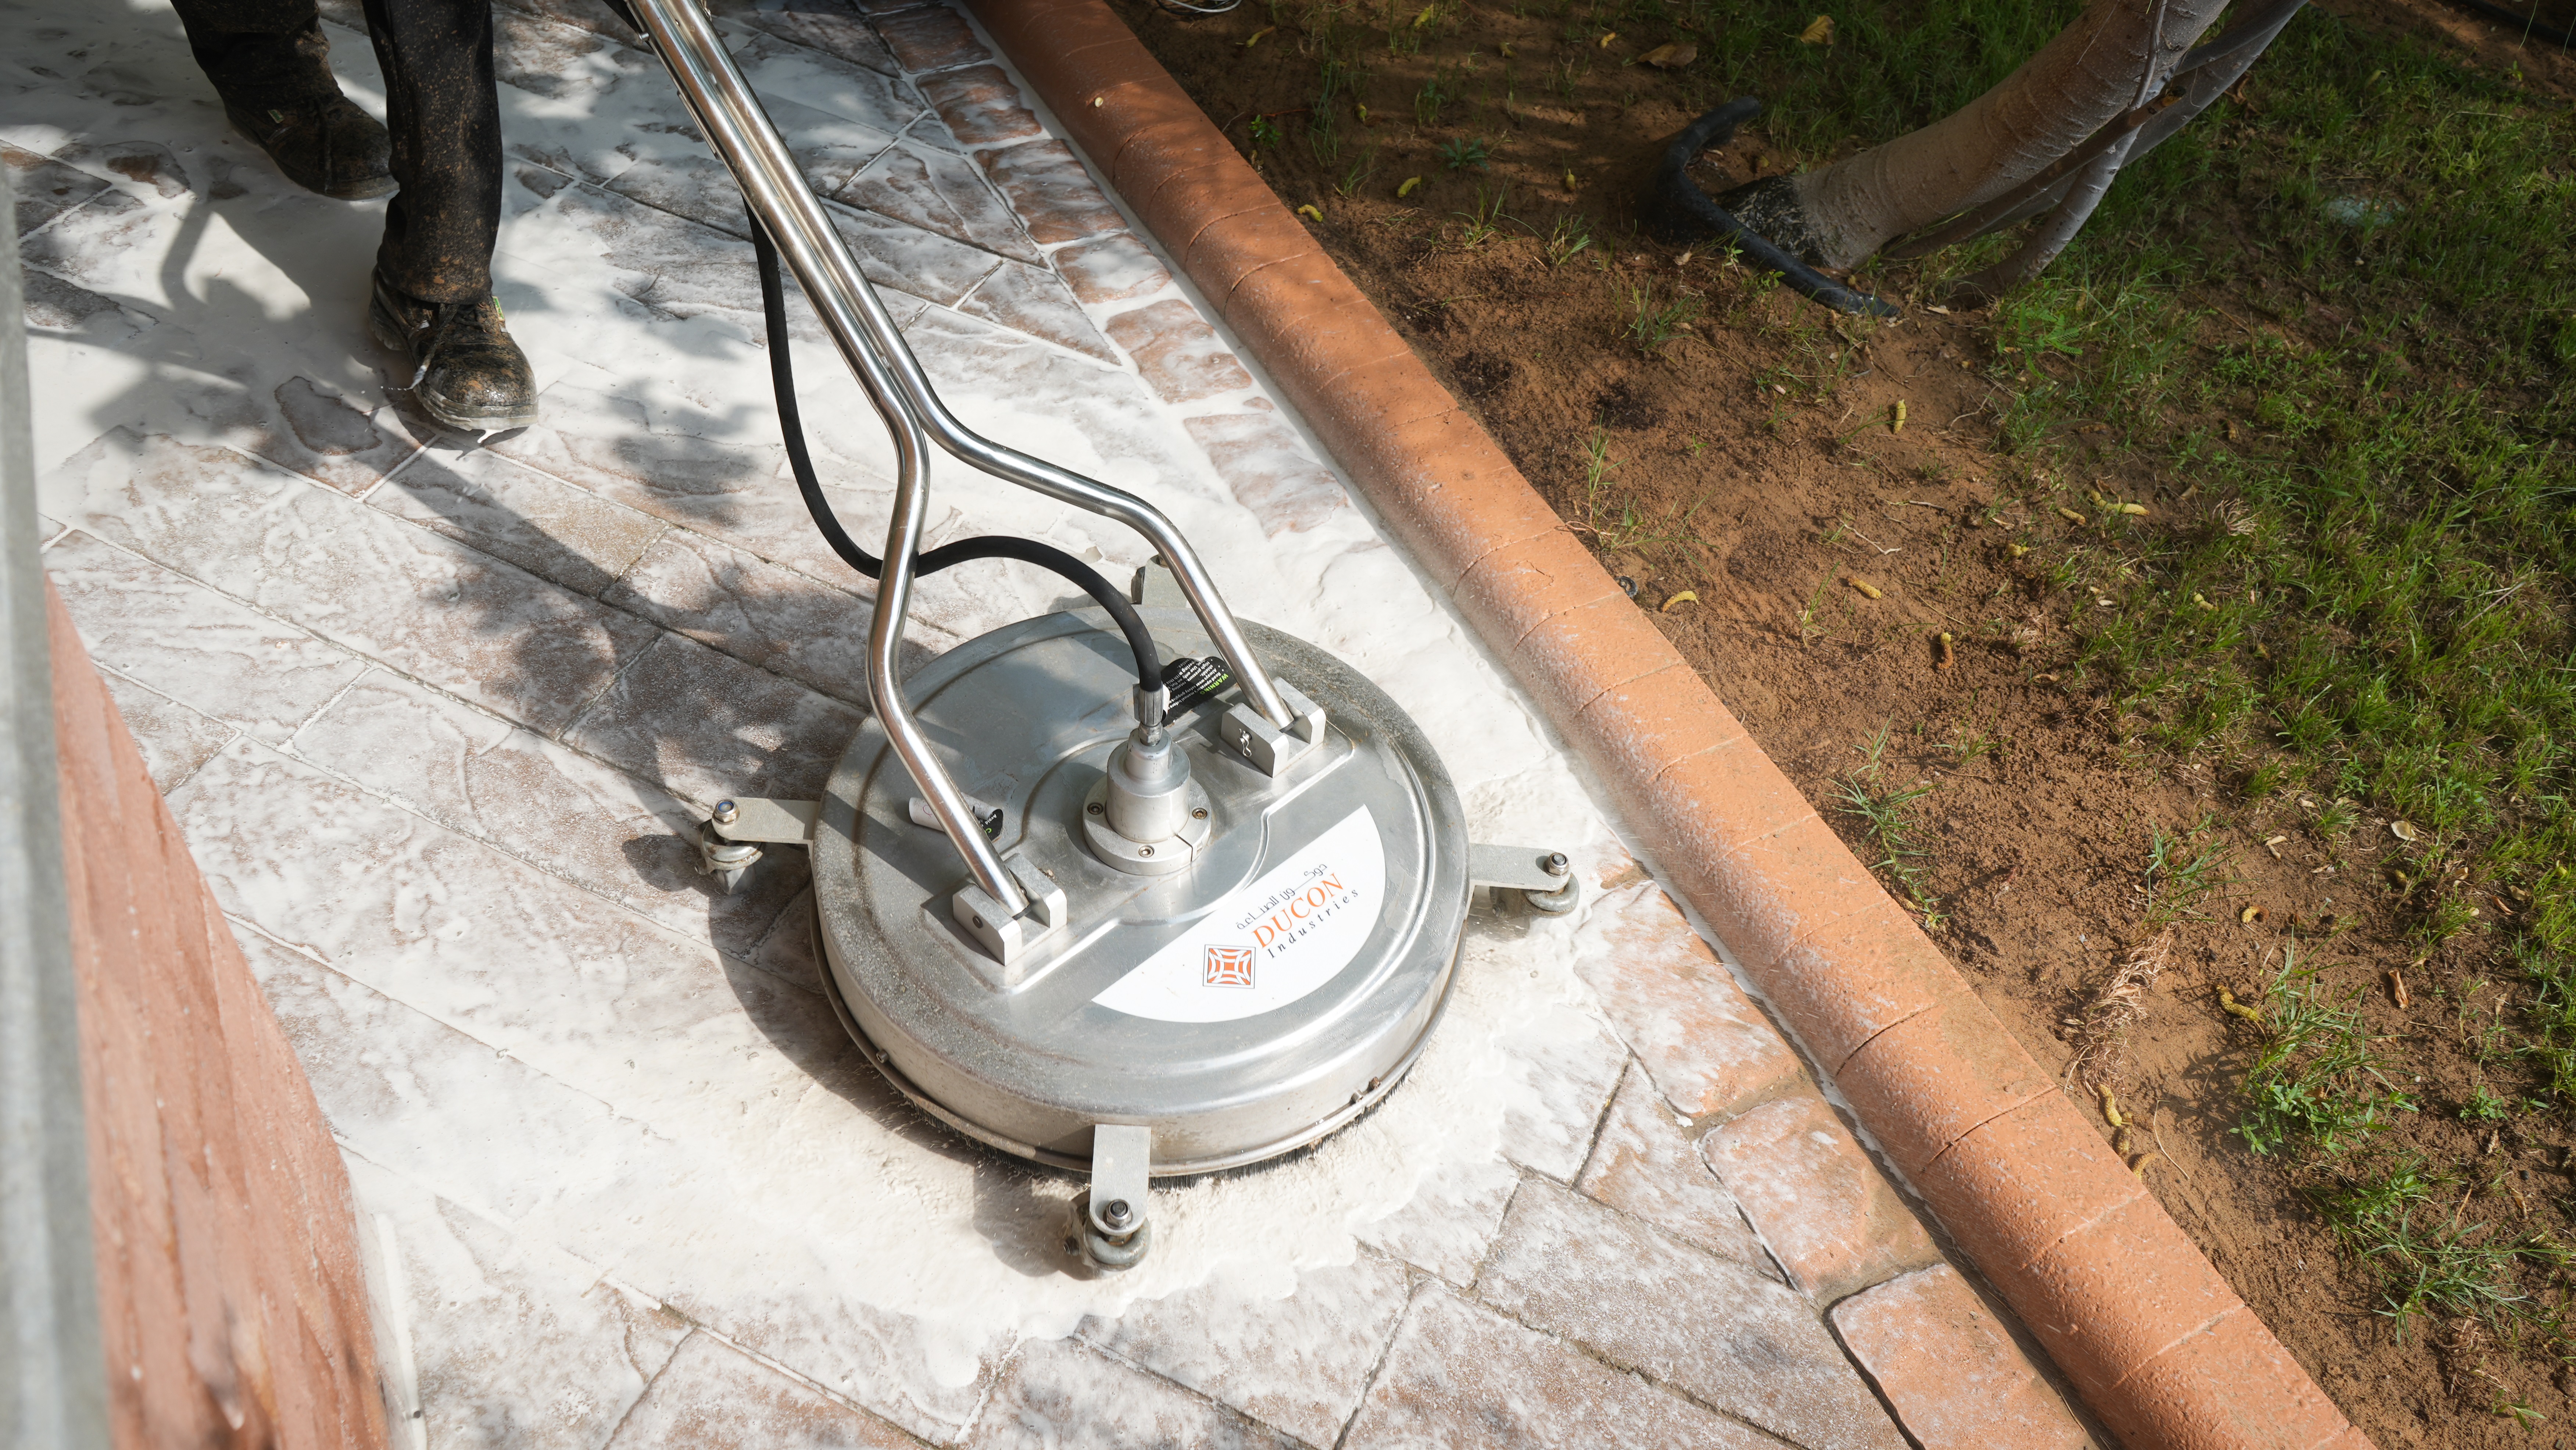
Launder the pavers
First of all, paver cleaning solutions before sealing will just seal dirt and filth into them. As long as there is no sand between the pavers that would be swept away, you can power wash the pavers. For places with car tire or oil stains, you could use hot water and dish soap. To clean the pavers, use a hard broom. Before continuing, give the pavers at least 24 hours to dry. The most effective washing technique will depend on the kind of pavers and how they are installed. Power washing is a fantastic alternative if the pavers are closely spaced; however, if the pavers are laid with sand in between them, it is not recommended. Pavers should not typically be sandblasted.
Even out uneven pavers
In areas where people frequently walk, pavers can occasionally settle unevenly, creating a tripping hazard. By shifting the sand beneath the paver, you can level the area where it is sitting and lift any uneven pavers. Lifting any of your pavers up to even them out may not be possible if they are tightly arranged. Still, level pavers improve the effectiveness of sealing.
Seal one portion of the pavers at a time
Work in a specified pattern to make sure the entire paver area is covered. Depending on how big the area is, a decent alternative would be to first draw a border around the entire area’s outer edge before dividing the remaining space into three to five portions. Move outward in the direction of your exit starting at the corner that is furthest from it. You won’t accidentally step on the sealant at the end thanks to this.
The sprayer nozzle should be moved in a circular manner
When the stones are wet, the sealer will make them appear darker, but it can still be useful to move steadily. For the optimum coverage, you can rotate the spraying nozzle in circles. It’s crucial to pay attention to the stones you cover as you spray to avoid covering some places with more sealer than others. It can take longer for the sealer to dry if you use too much of it. All you need is a thin layer. Maintaining track of what you have sealed may not be difficult while working in a small space, but it becomes more crucial when sealing a full driveway.
Clean the roller or sprayer
As soon as the project is over, properly rinse the sprayer or roller. The sealer will solidify on your equipment if you let it sitting for too long. The roller can be disposed of if you don’t want to wash it. To clean the hose as well, be sure to spray water through the nozzle until the water runs clear. Check the sealer’s instructions to determine if there are any particular guidelines for cleaning the equipment. To remove the sealant from your sprayer, you might require lacquer thinner or a cleaner with more strength than water.
______________________________________________________________________________________